All Blogs, Pizza Ovens
10 Things Every Pizza Newby Needs to Know
So, you’ve recently joined the wonderful world of making fresh homemade pizza, or you’re about to! We hope you absolutely love your new pizza oven and we’re here to help you with some tips to fast track your journey to being a pizza aficionado. Here are 10 things every Pizza Newby needs to know. Let’s dive in.
1. Prepare your outside cooking area
Whilst you are waiting for your new pizza oven to arrive, it’s time to think where it’s going to go. An area with a flat surface is best, but you will also need to consider your proximity to power for any lighting for ambience and for ease of access getting around your pizza oven. Leave yourself plenty of room for guests, laying out your preparation area and of course somewhere to sit and feast on fresh Neapolitan pizza fresh from the oven!
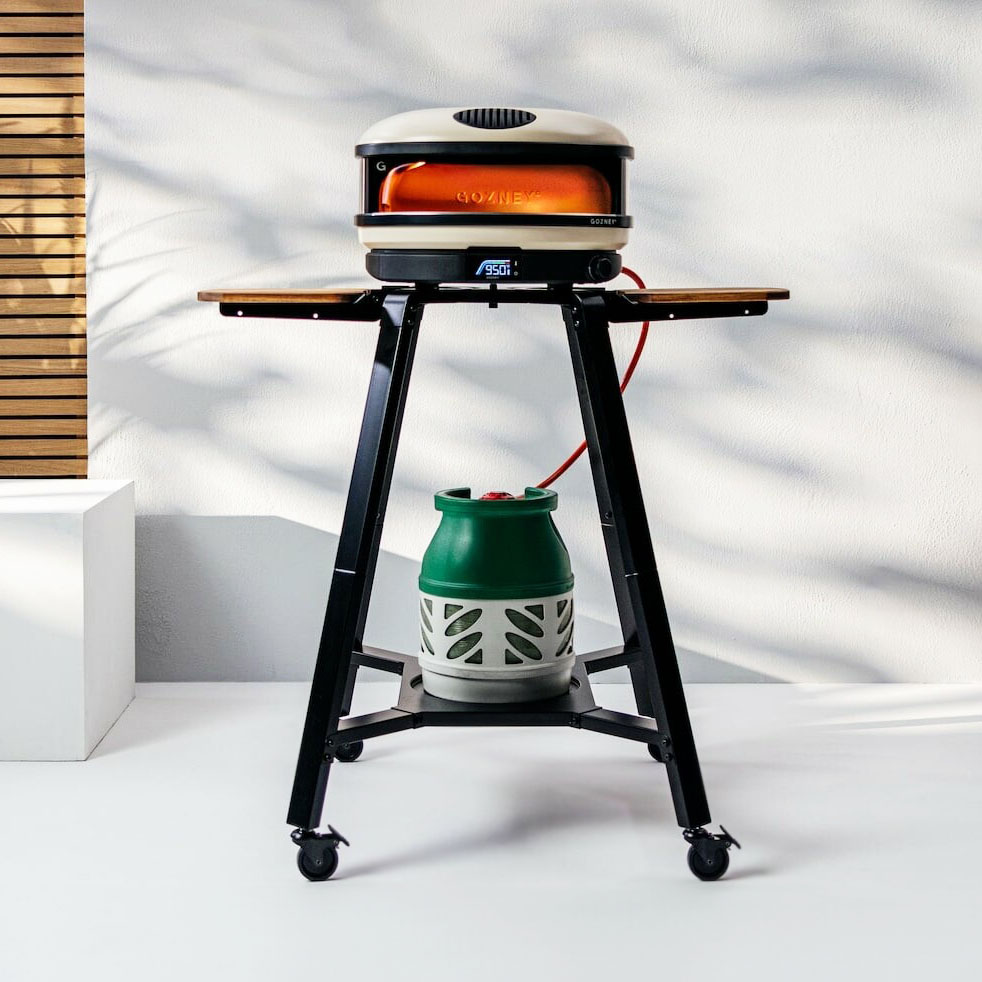
2. Invest in a sturdy stand
Pizza ovens can reach an insanely hot 500°C. For this reason, you need to ensure the pizza oven will be placed somewhere stable where there is no possibility of it being knocked over. In terms of weight this shouldn’t be an issue with our starting ovens weighing in from 20kg upwards, but safety needs to be at the forefront of your mind.
It’s best to choose a stand that sits at your waist height for ease of access and is constructed from something sturdy like metal or wood. Check out our range of Pizza Oven Stands here.
3. Prepare your ensemble
Every true pizza aficionado will have their configuración (set up for you non-Spanish speakers!) ready to go. You’ll also need room for your topping station, a place for a board to stretch your dough, and of course all your culinary tools! We recommend a digital infrared thermometer, a launching pizza peel and a turning peel at least! This is because the pizza stone where the pizza sits can take a bit longer to reach the same ambient temperature as the oven, and you want to avoid any soggy bottoms on your pizza or sticky dough left on the stone.
Even if you don’t feel confident retrieving the pizzas from the oven just yet, the peels will certainly give you the air of a true pizzeria chef in the meantime! If you have not bought your accessories yet, find them here.
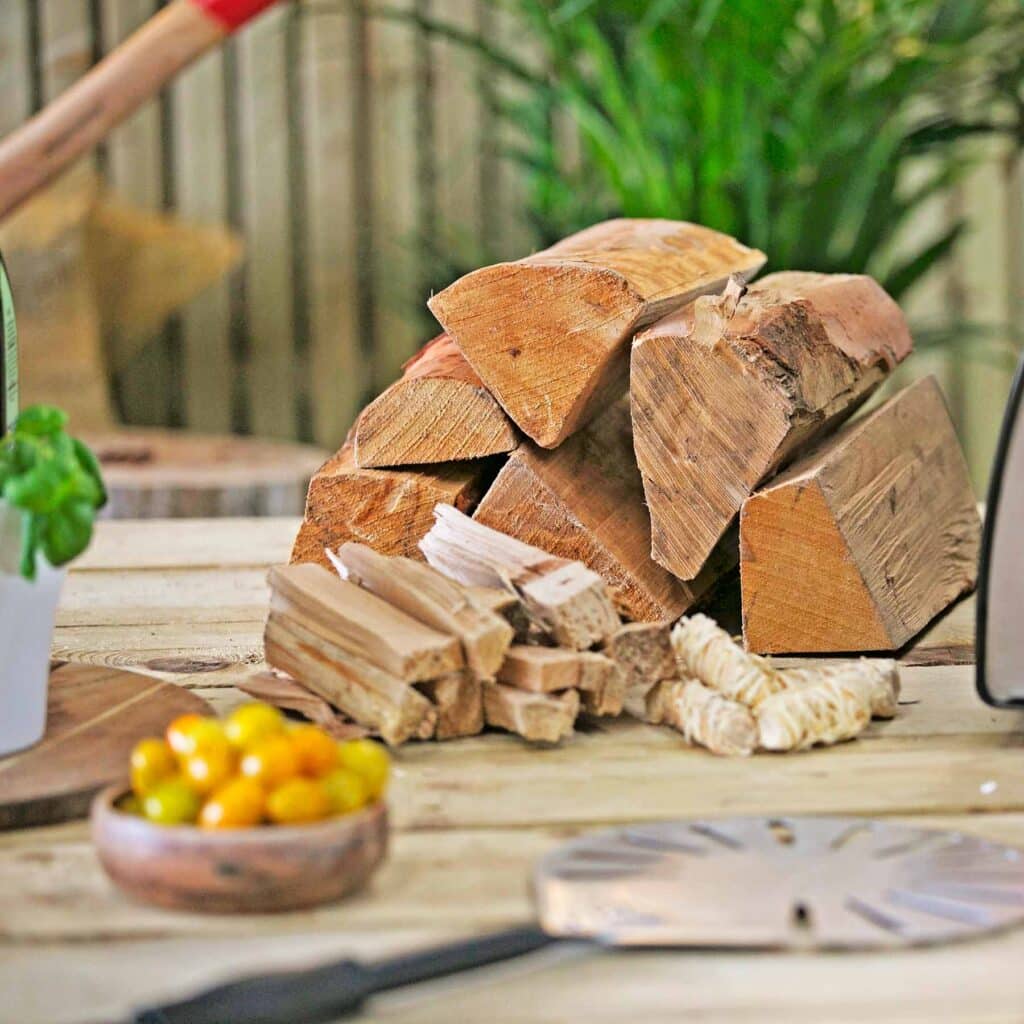
4. Sort out your fuel
Depending on what type of pizza oven you have selected, you will either need to prepare room for kindling and wood stacks or a gas canister for a gas fired pizza oven. Think about the ambience you want to create as you create freshly baked, charred crust pizzas and wow your friends and family with some artistically positioned logs aside your pizza oven.
We recommend kiln dried silver birch logs for wood fired ovens. These are small, easily stackable, but more importantly they burn for a long time and at an intense heat.
5. Season your oven
A day before you first plan to cook, we recommend you take the opportunity to firstly, become acquainted with how to light your pizza oven, and secondly to clear any potential oil residue from the manufacturing process. All you need to do is slowly bring up your pizza oven to its max temperature and allow it to burn for 30 minutes. By bringing the temperature up slowly it doesn’t ‘shock’ the fire bricks which can often cause them to crack due to the sudden change in temperature. Don’t worry though once the oven is seasoned, you can bring the temperature up quicker.
6. Do a test run
Aside from seasoning your oven, getting some first practice in can really boost your confidence and give you a feel for how much time you’ll have available before cooking! Many of our ovens can cook a pizza in just 60 seconds! It’s also a good idea to get a feel for working with wood, charcoal or pellets if you’ve never cooked using that fuel before. It’s not as easy to adjust the heat than on a gas oven, but the taste of wood fired pizza is more than worth it. Also, nobody wants a soggy or cold pizza, a practice run can teach you how long you need for the pizza stone to be hot enough so you can manage feeding the fire appropriately.
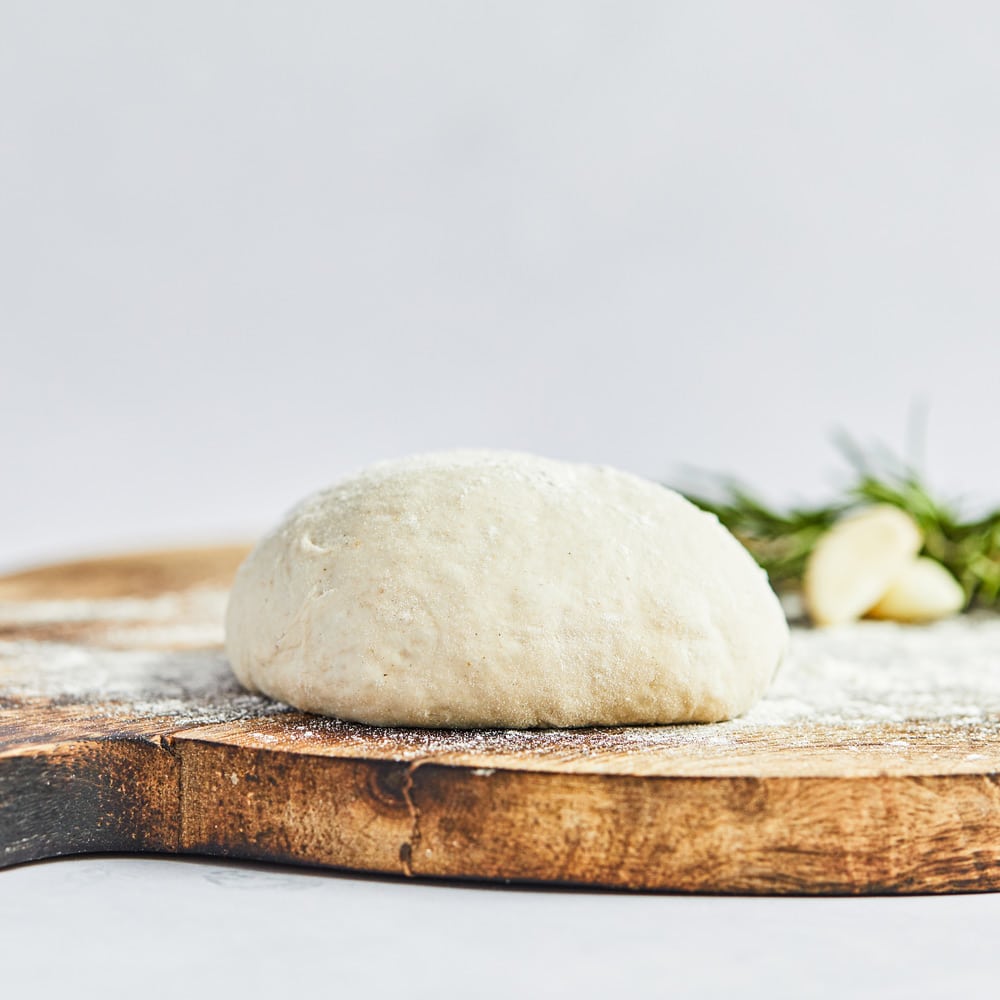
7. Knead your way to success
There’s nothing worse than having guests over for your pizza dough to fall apart, discover you don’t have enough ingredients or fuel! Practise ahead of the first time you throw a pizza party by preparing your dough, timing how long it needs to proof and shaping your dough out evenly. Of course if you don’t fancy throwing yourself into the world of making your own dough just yet, you can wow your guests with our pre-made dough balls – available as a gluten free version too!
8. Top it all off
On top of your dough balls, you’ll also want to see how much tomato sauce, cheese and toppings you can spread over your dough base. As most of our ovens can cook a pizza in 60 seconds to two minutes, you need to ensure you don’t overload your toppings as this can lead to partially cooked food or an unevenly cooked pizza which can be harder to retrieve from the oven. With a wood fired oven you will already have a beautiful, smoky aroma and charred crust, so trust us when we say you don’t need to go too heavy on toppings. You can find a full list of our recipes here.

9. Branch out
Once you’ve got comfortable making pizza, put your pizza oven to more use! Our pizza ovens can accommodate roasting trays and skillets so you can cook an array of dishes! Popular choices include roasting succulent meats, fish and Mediterranean vegetables or even baking bread and creating gooey desserts! You may wish to invest in some cast iron roasting tray and skillet sets as not every run of the mill tray or skillet can withstand the heat. You can explore our range here.
10. Take good care of your pizza oven!
As time progresses, it’s normal for your pizza stone to change colour or for it to develop some burnt spots. This doesn’t mean there’s anything wrong with the pizza oven, especially for wood fired ovens. You can flip the pizza stone once you have finished cooking, and the oven has cooled down, so you have a clean surface each time. The heat from the oven will clean any leftover debris. Of course, you can always wipe down the stone with a dry cloth after each use or invest in a rake and brush. Never use water to wipe down your pizza stone as the stone / fire bricks are a porous material and will absorb the moisture. Instead, just brush away and burnt debris.
Can we help you with any other accessories you may need for your pizza oven? You can contact us today on 01423 608648 or browse all of our pizza ovens, accessories, fuel and groceries here.

